
Getting Started
Set up the essentials in a clear sequence, then add optional organization and teammates when your workspace is ready for them.
Core setup
Access Boxymi
Create your Boxymi account and sign in to open your active workspace.
New account
New to Boxymi
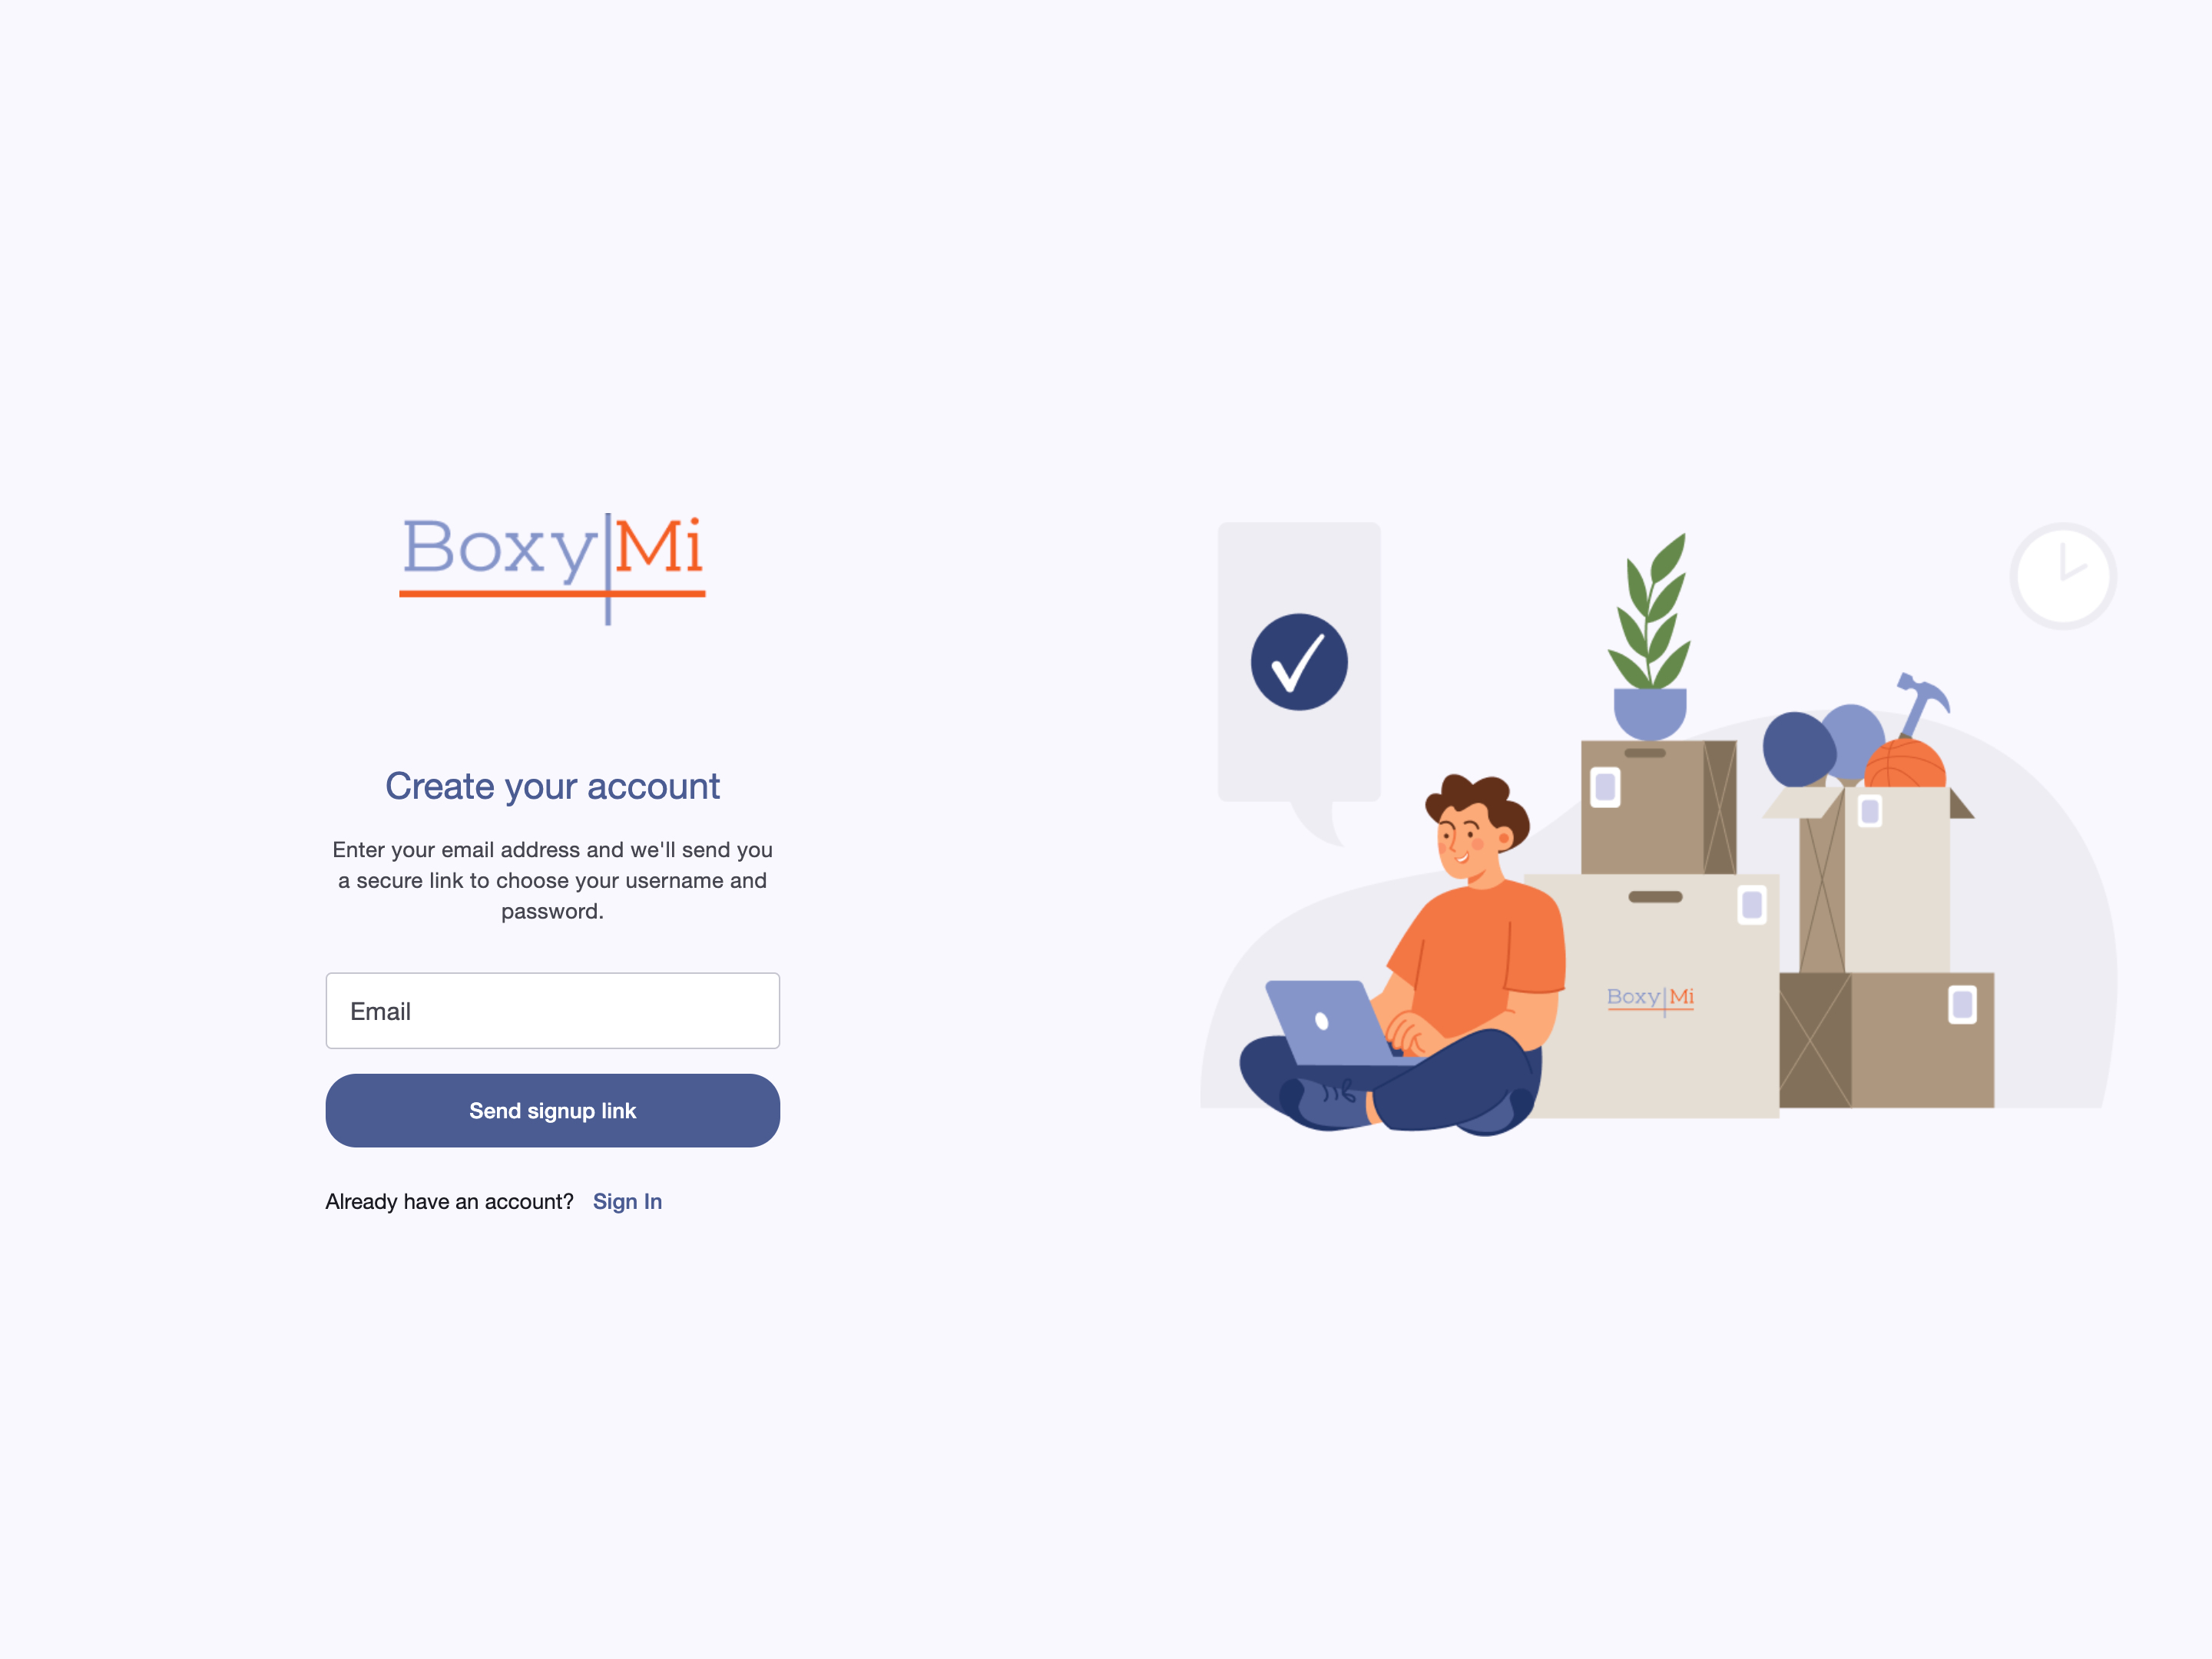
Use the secure signup link sent to your email address to create your account.
- Go to app.boxymi.com and select Sign Up.
- Enter the email address you want to use in Email, then select Send signup link.
- Open the message from Boxymi and follow the most recent secure signup link.
- Choose your username and password when prompted, then return to Boxymi and sign in.
Existing account
Already have an account
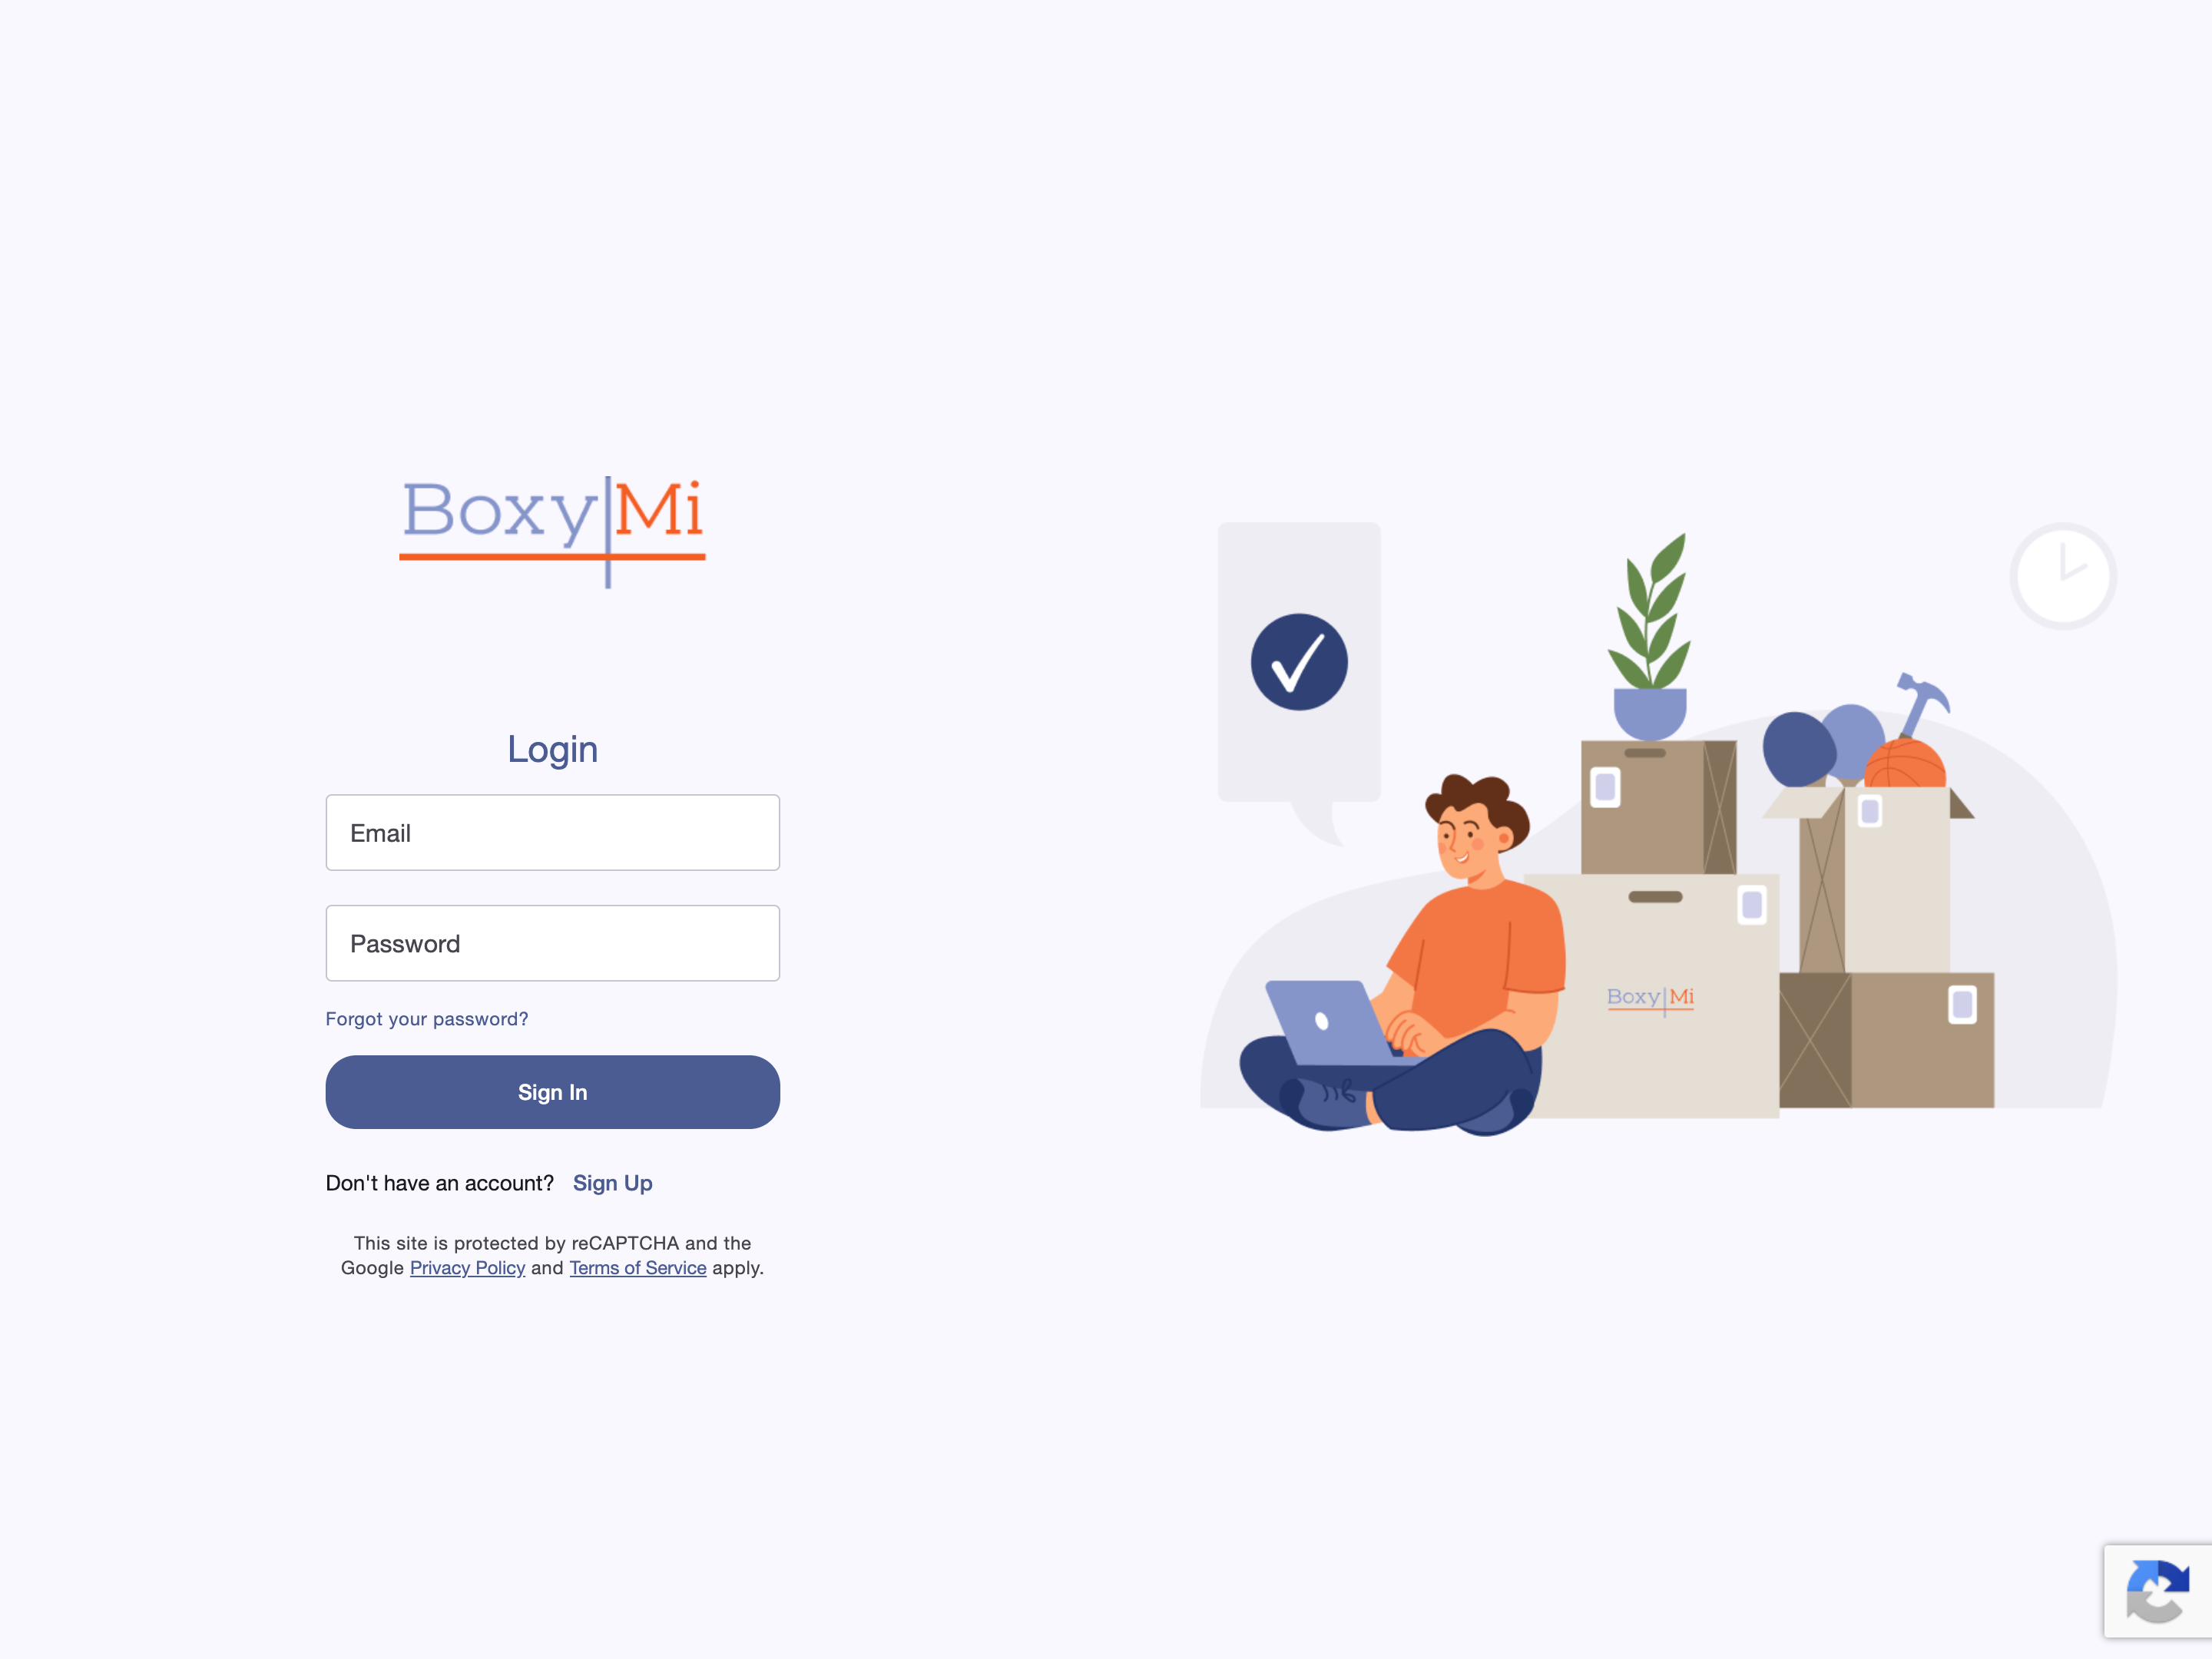
Sign in with the email address and password already associated with your Boxymi account.
- Go to app.boxymi.com.
- Enter your registered email address in Email and your case-sensitive password in Password.
- Select Sign In.
Done when
Boxymi opens your active workspace after you sign in.
Need help accessing your account?
If a signup message does not arrive, confirm the email address, check your spam or junk folder, and request a new link only after waiting a few minutes.
If you cannot sign in, select Forgot your password?, enter your registered email address, and select Send Recovery Email. Follow the latest recovery link, choose a new password, and return to sign in.
Core setup
Personalize your workspace
Give the workspace Boxymi created for you a clear identity and the correct operating defaults.
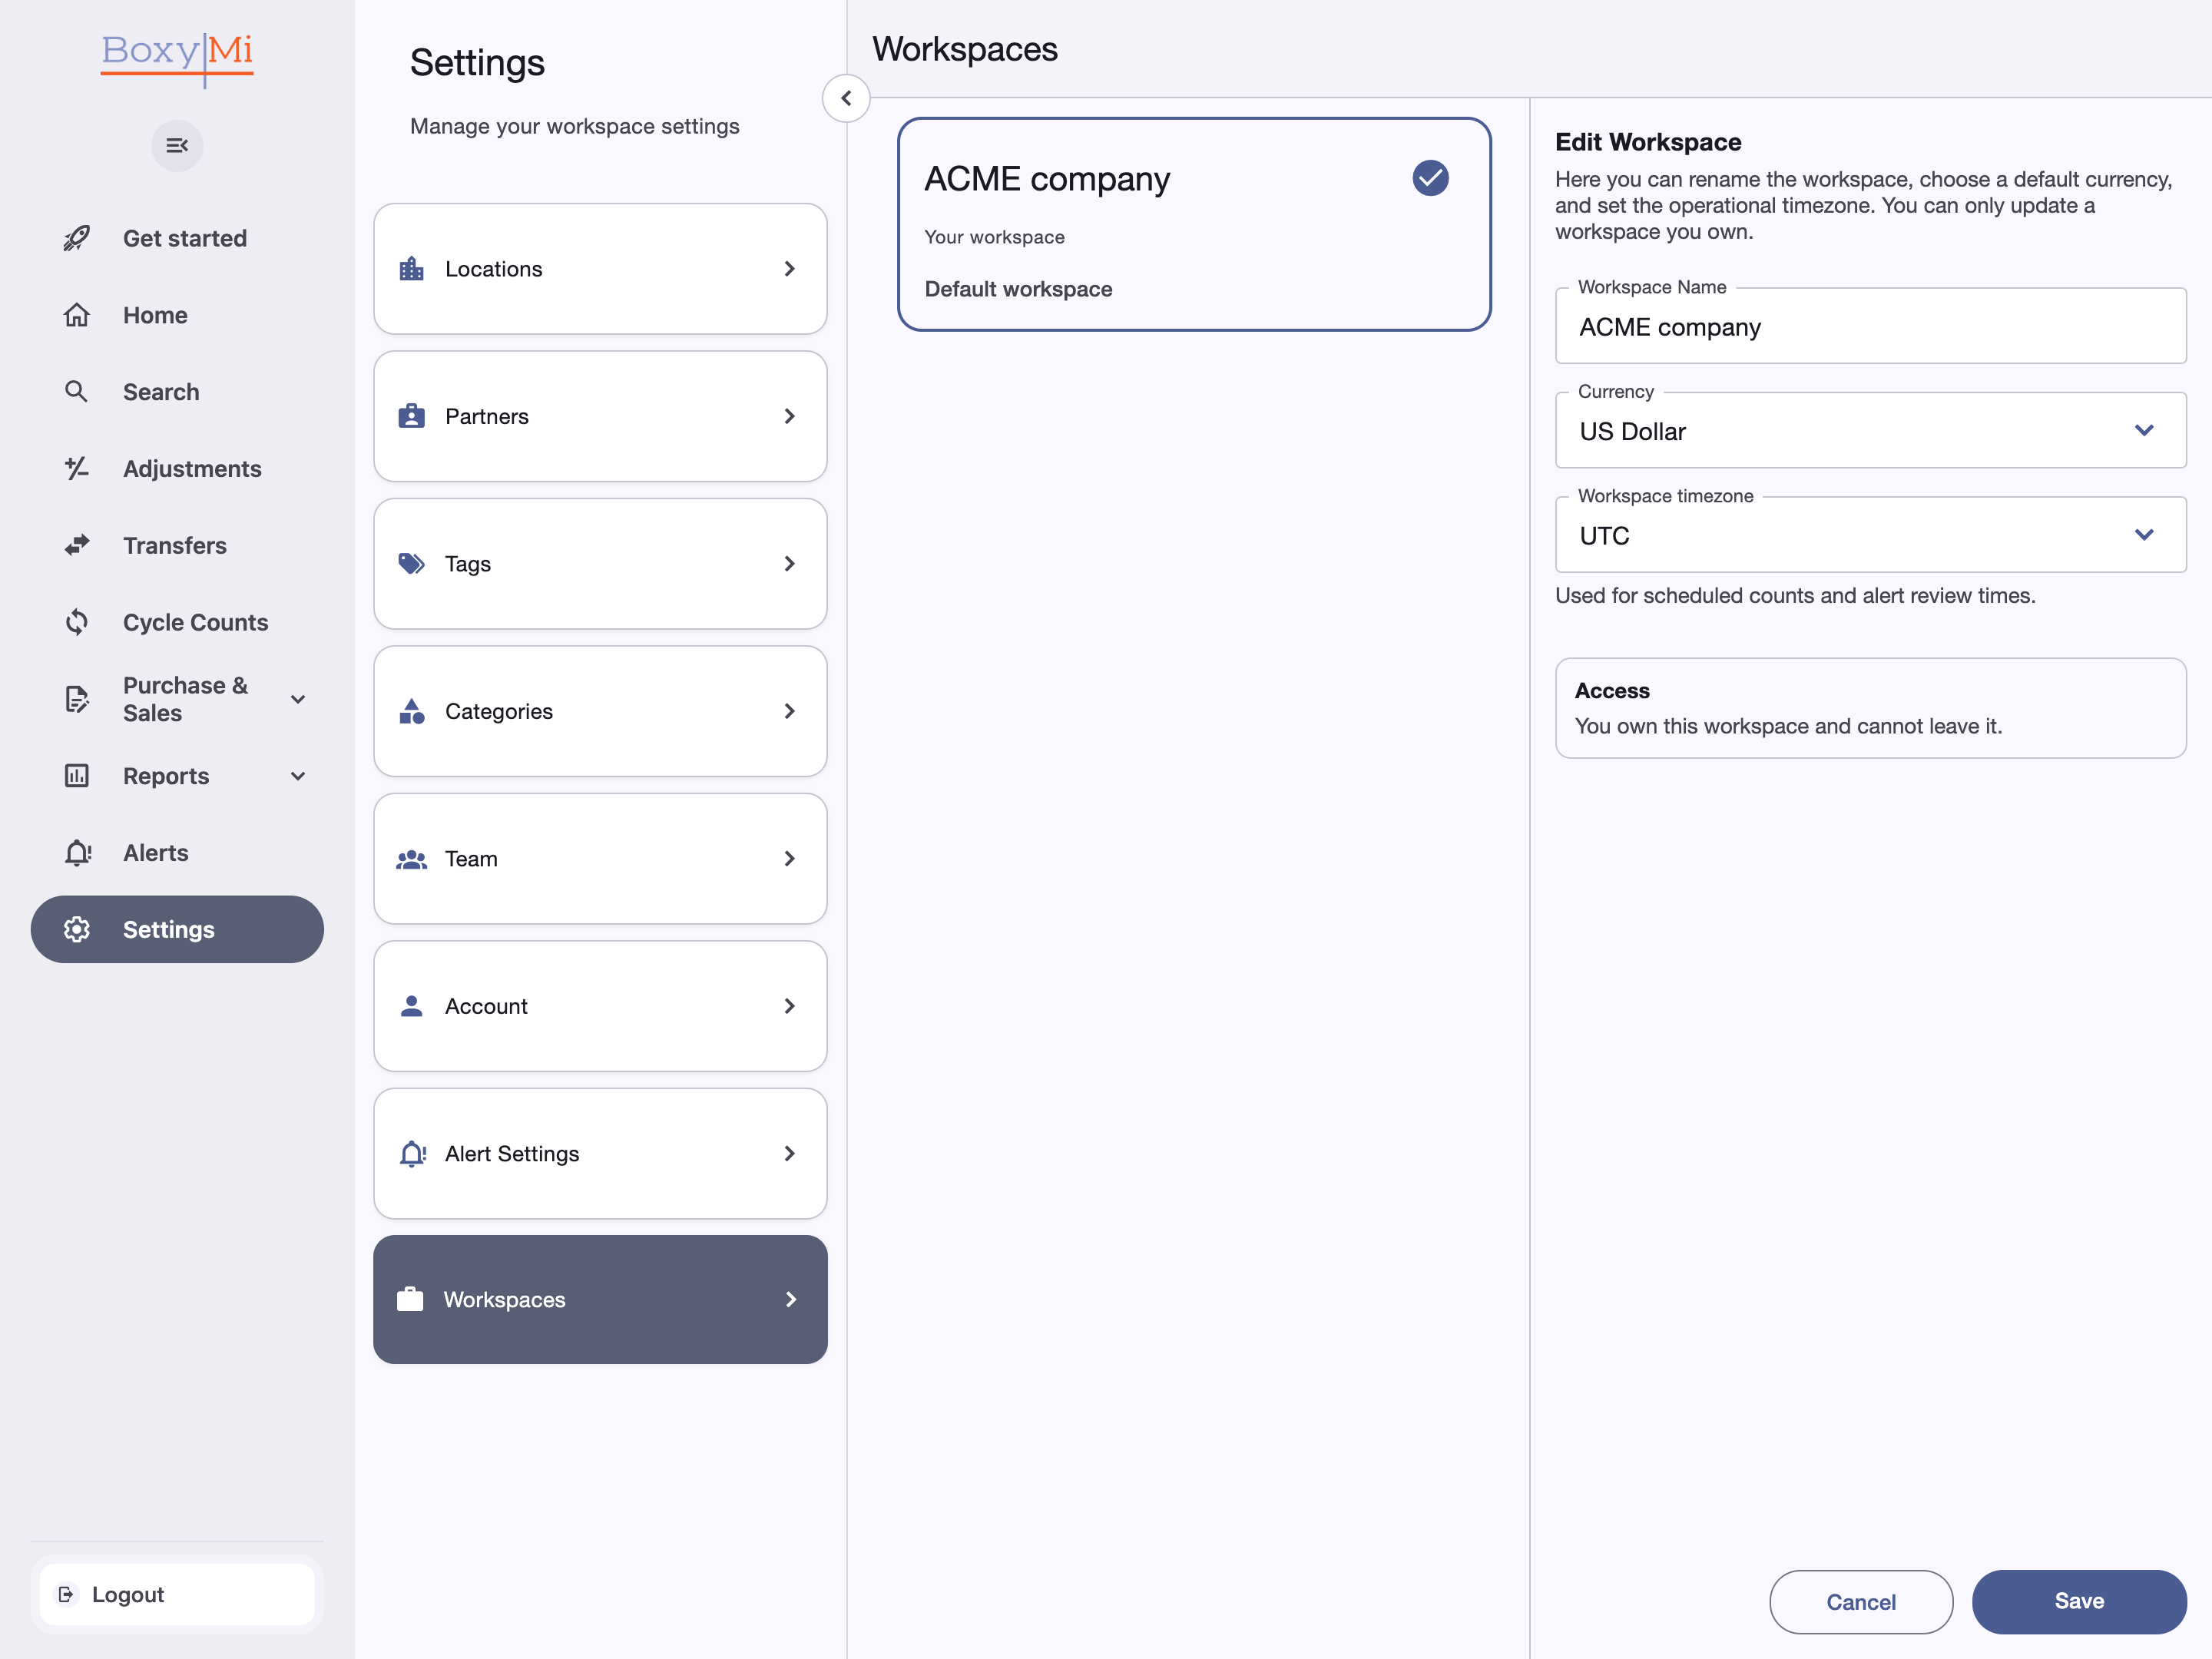
- Open Workspaces and select your personal workspace.
- Open the workspace settings.
- Enter a clear Workspace name and select the Default currency.
- On the web, select the Operational timezone, then save your changes.
Done when
The saved workspace name appears in the workspace selector.
Important. Always confirm the active workspace before adding or changing information. Personal and shared workspaces keep their items, locations, categories, activity, and team data separate.
Join a shared workspace with the same email address that received the invitation. Owners manage settings and roles; member access depends on the assigned role. Invited members may leave a shared workspace, but its owner cannot leave it.
Only the owner can change workspace settings, and the operational timezone is available on the web.
Core setup
Add your first location
Create a place where Boxymi can store and display the quantity of each item.
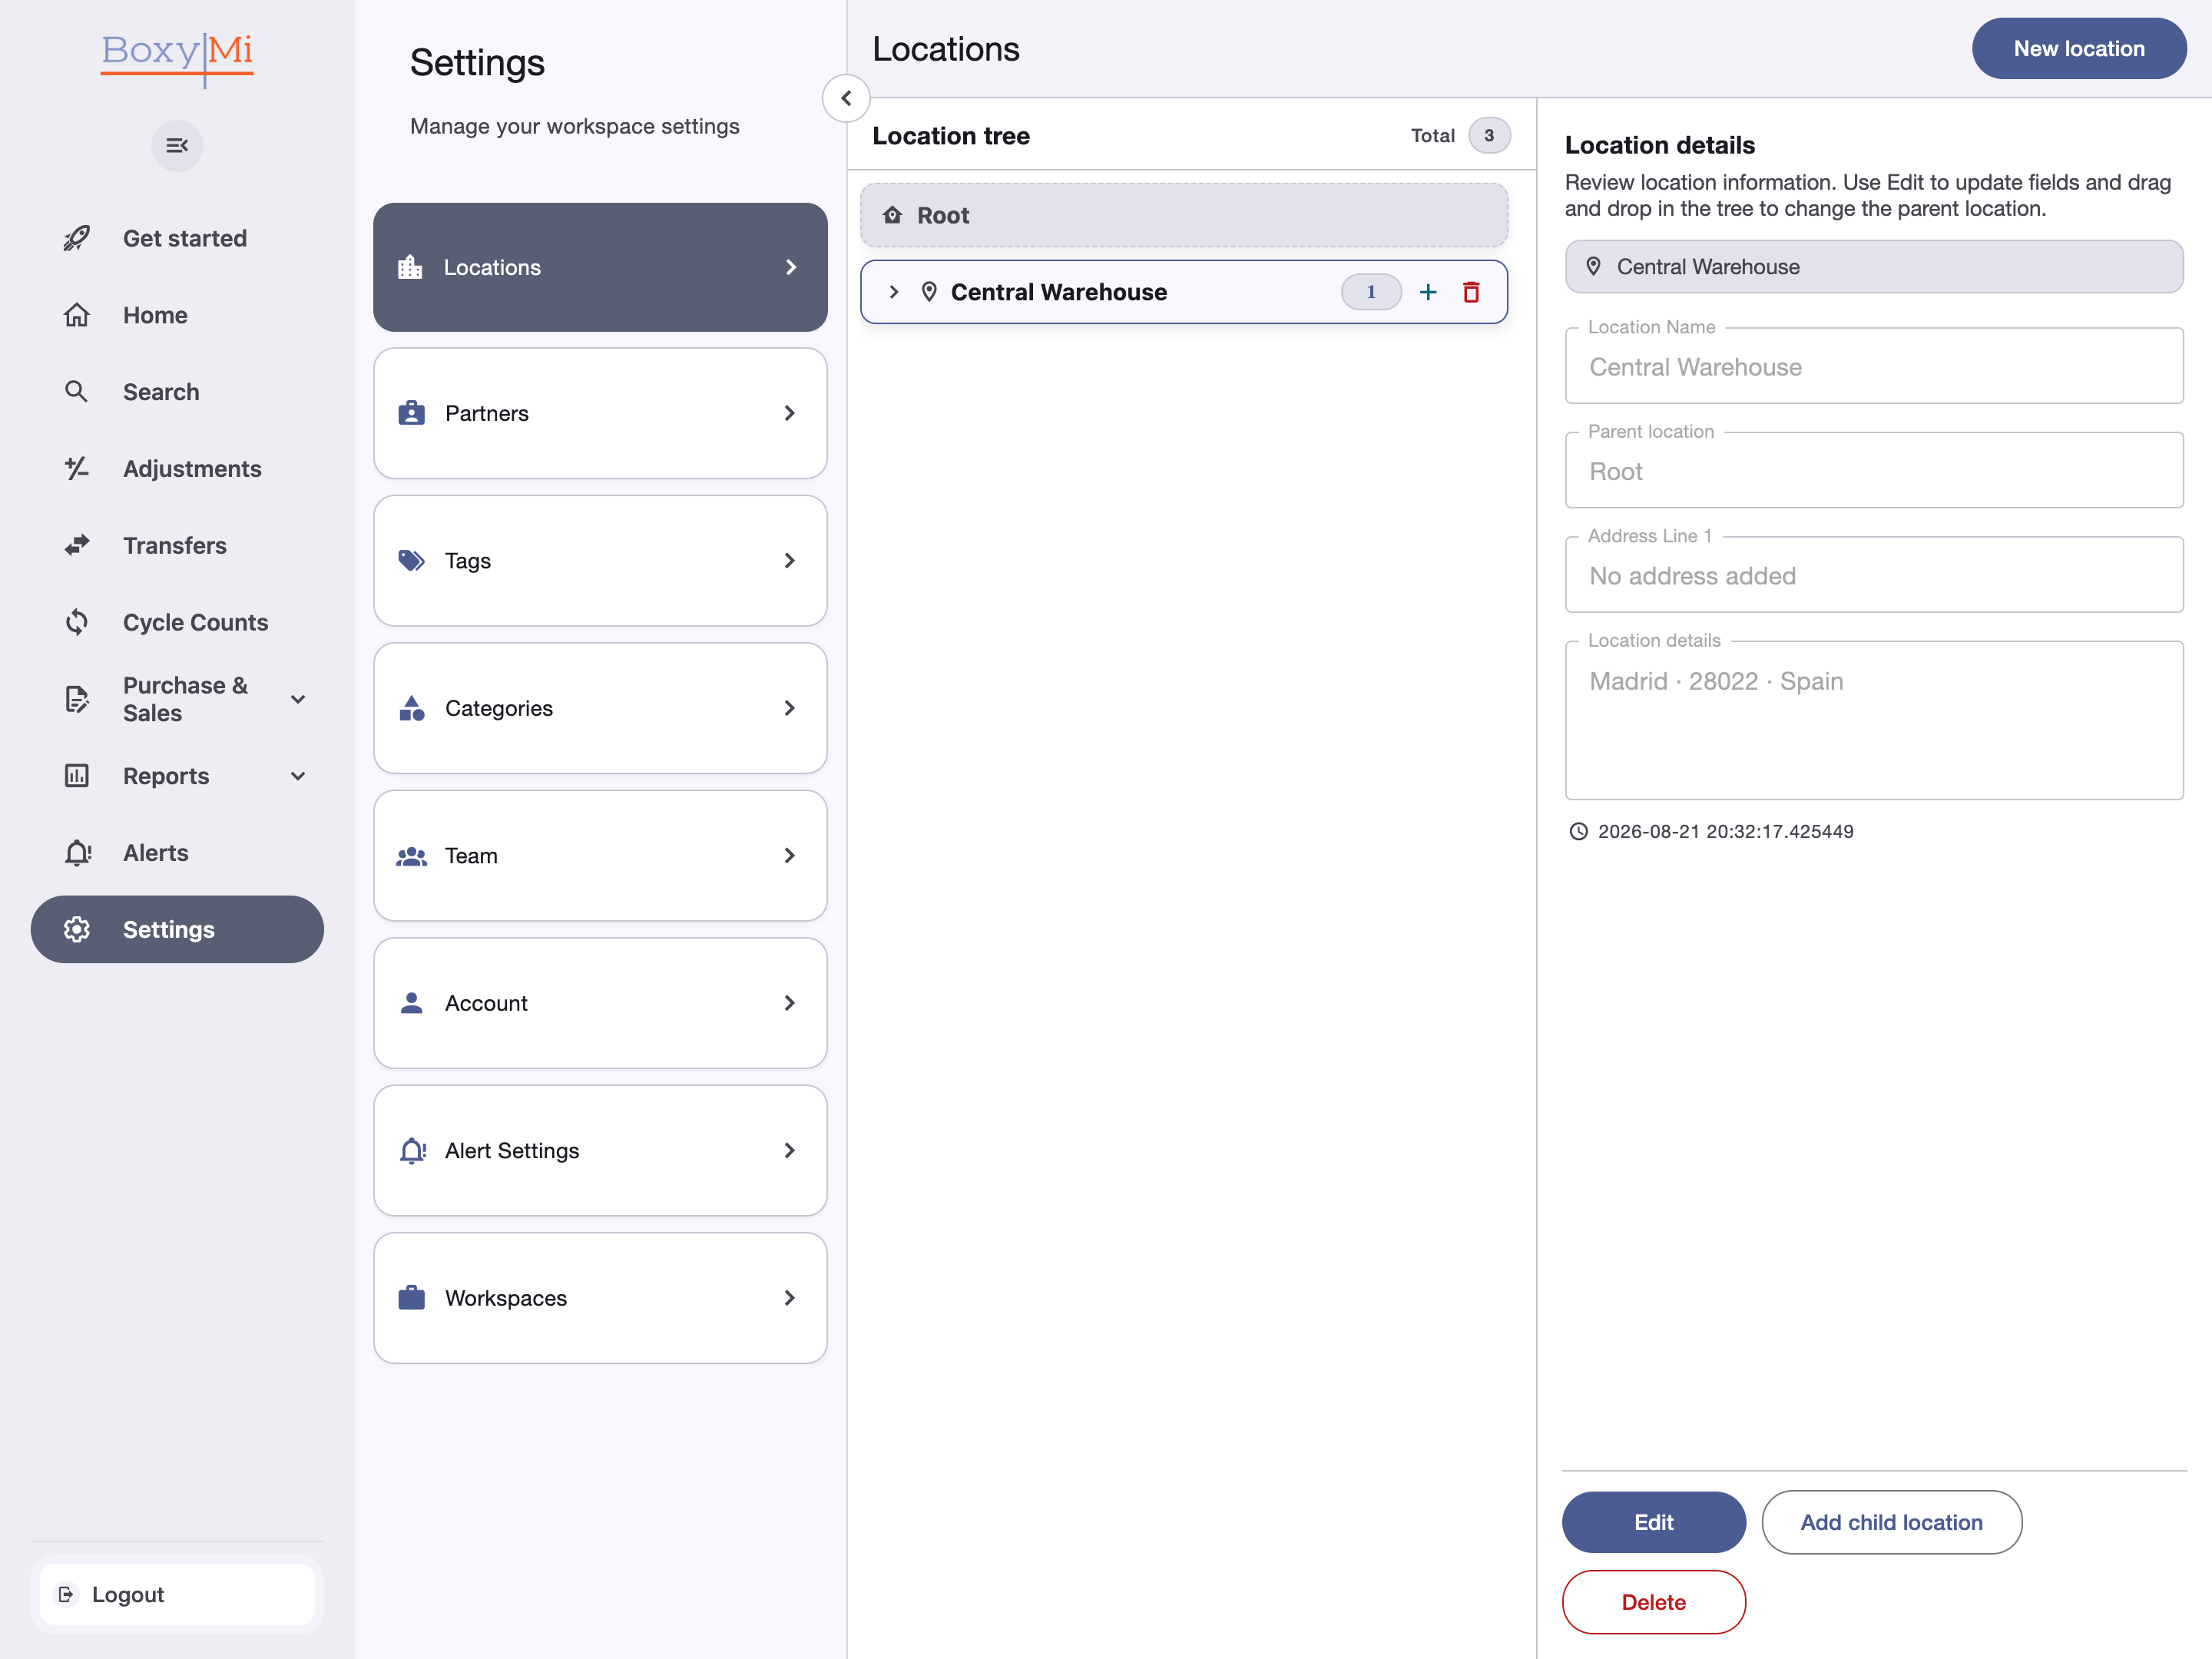
- Open Settings > Locations and select New location.
- Enter a clear location name and add address details when they are useful.
- Save the location, then repeat for the main places where you keep inventory.
Done when
The location appears as an available place for inventory.
Tip. Start with a few broad locations and add rooms, shelves, vehicles, or job sites only when the extra detail becomes useful.
Optional
Organize categories
Group related items so your team can browse and filter inventory more easily.
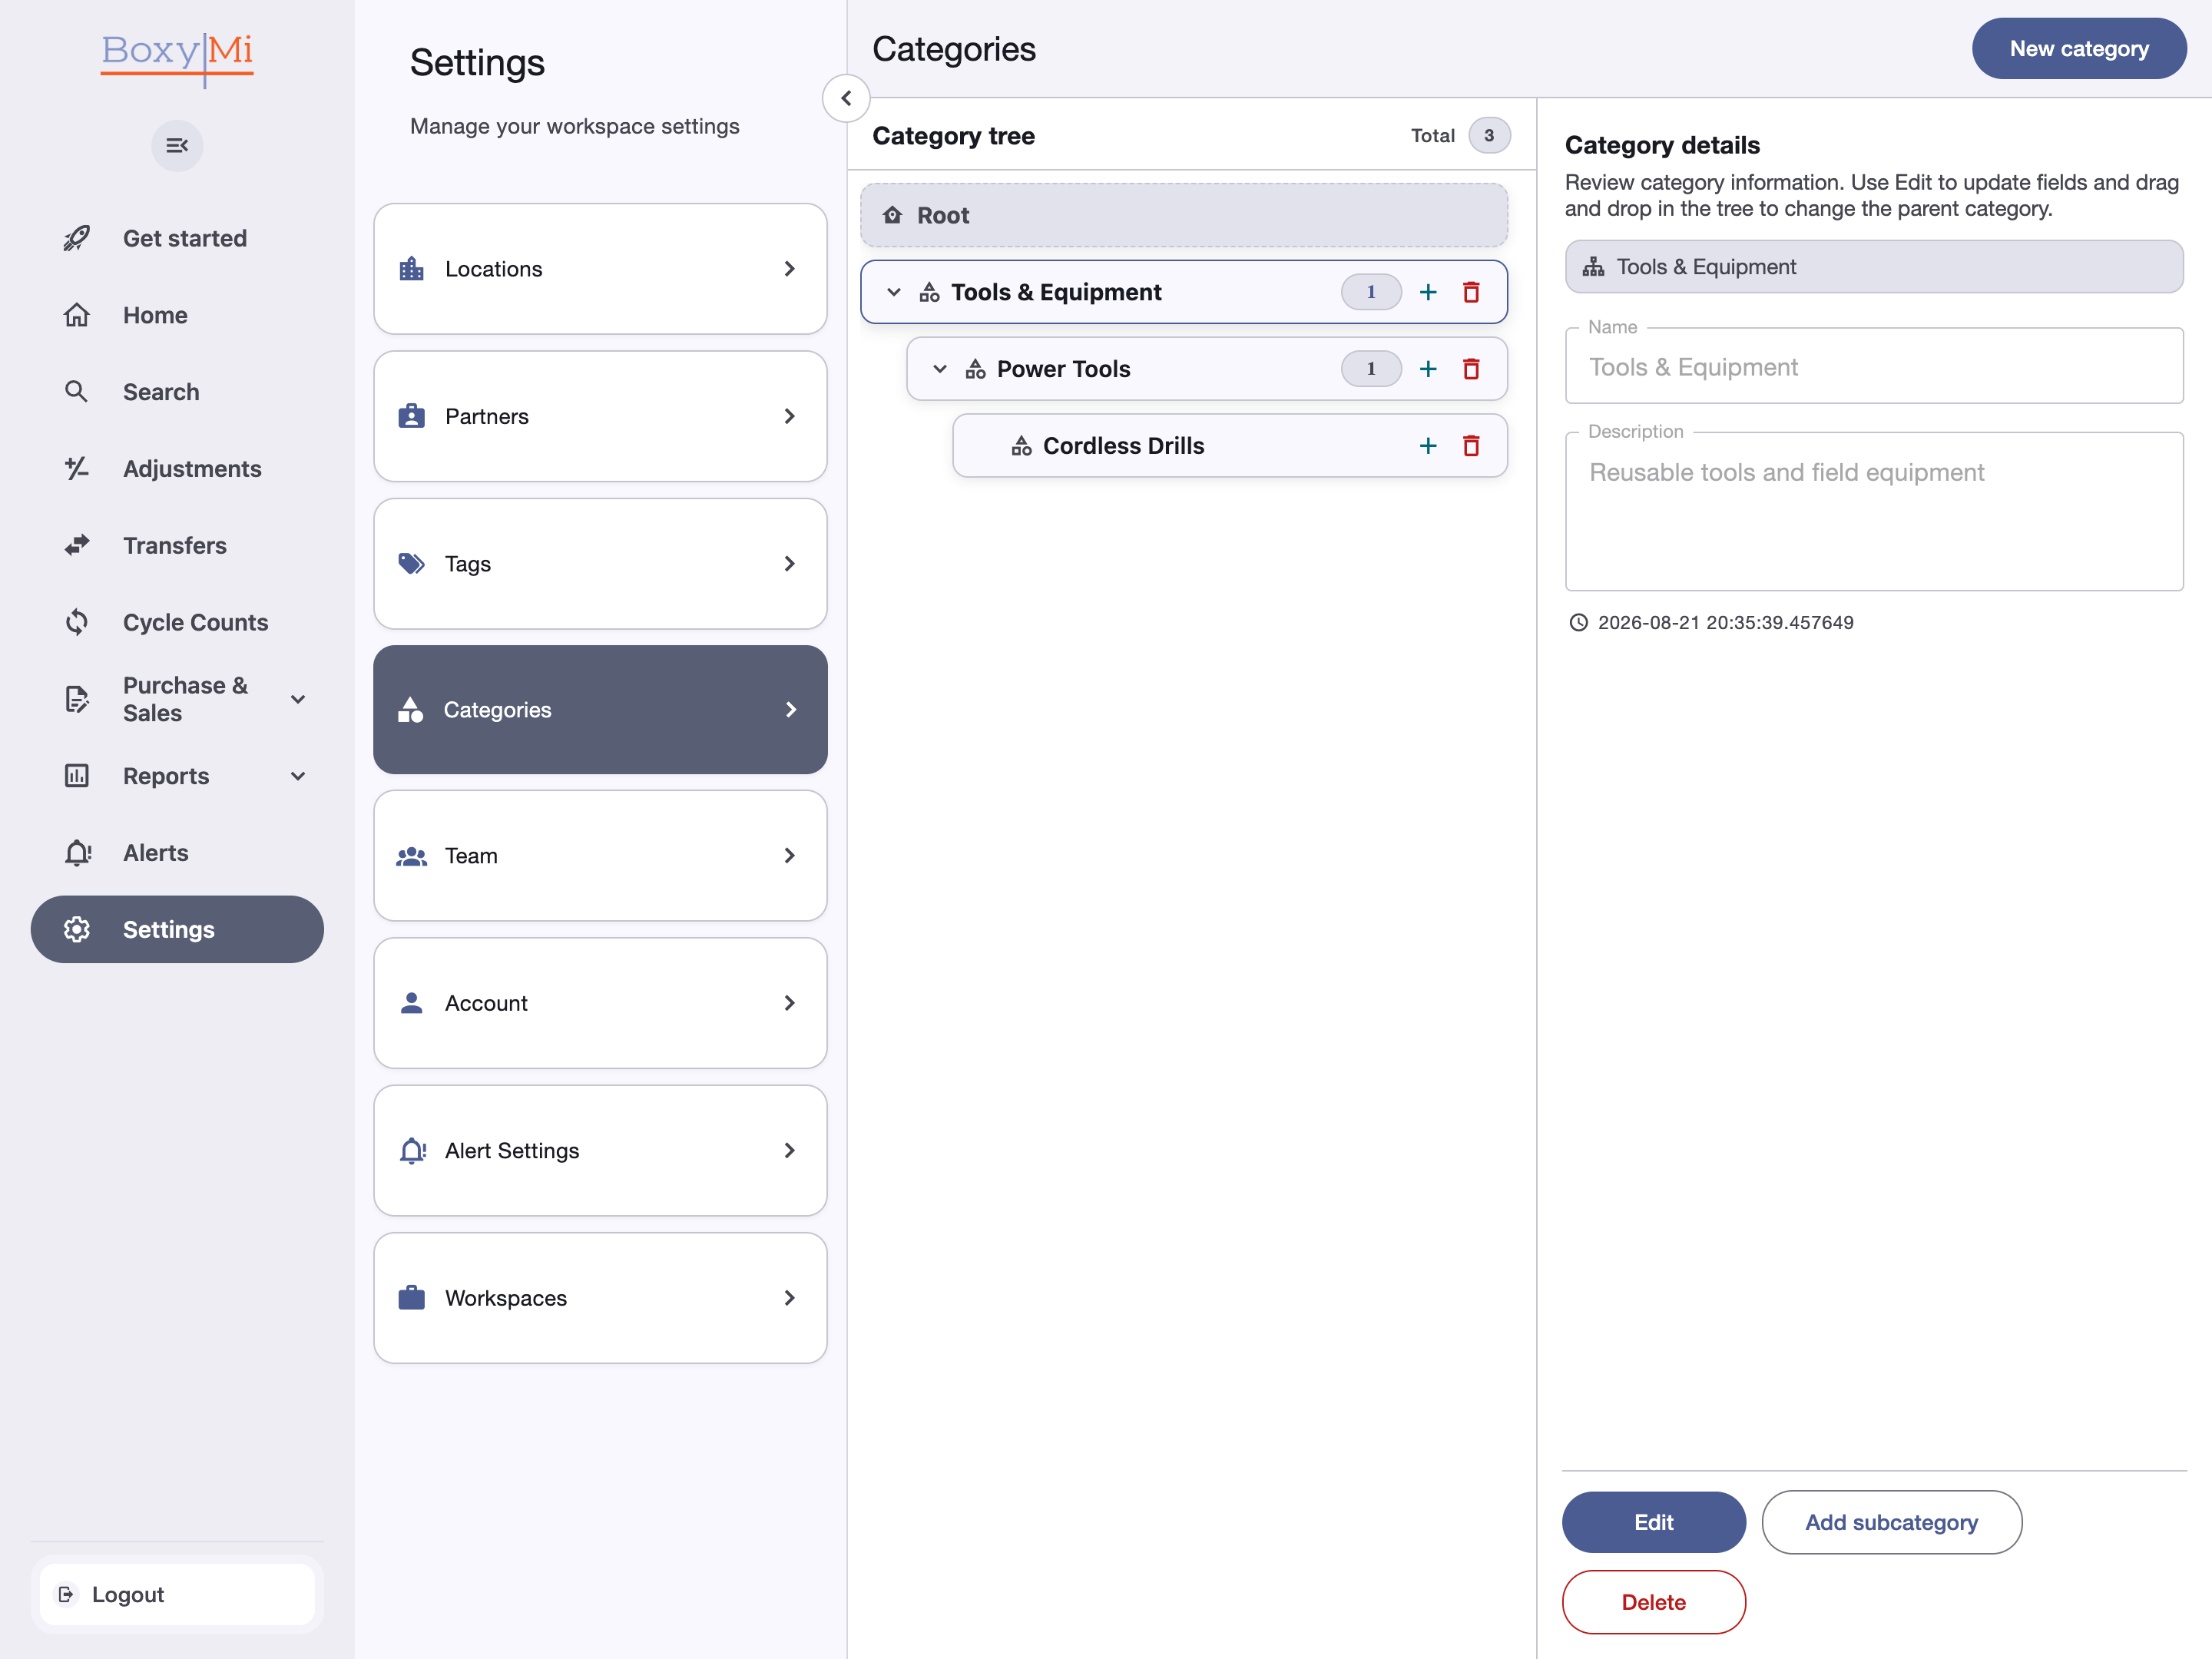
- Open Settings > Categories and select New category.
- Add a name and optional description, and choose a parent only when creating a subcategory.
- Save the category, then assign it while adding or importing items.
Done when
The category appears as an option when you create or edit an item.
Tip. Skip this step if you do not need categories yet; you can organize existing items later.
Core setup
Add or import your first items
Connect the products, supplies, equipment, or assets you track to their quantities and locations.
One at a time
Add manually
Use standard item creation when you want to enter and review one record directly.
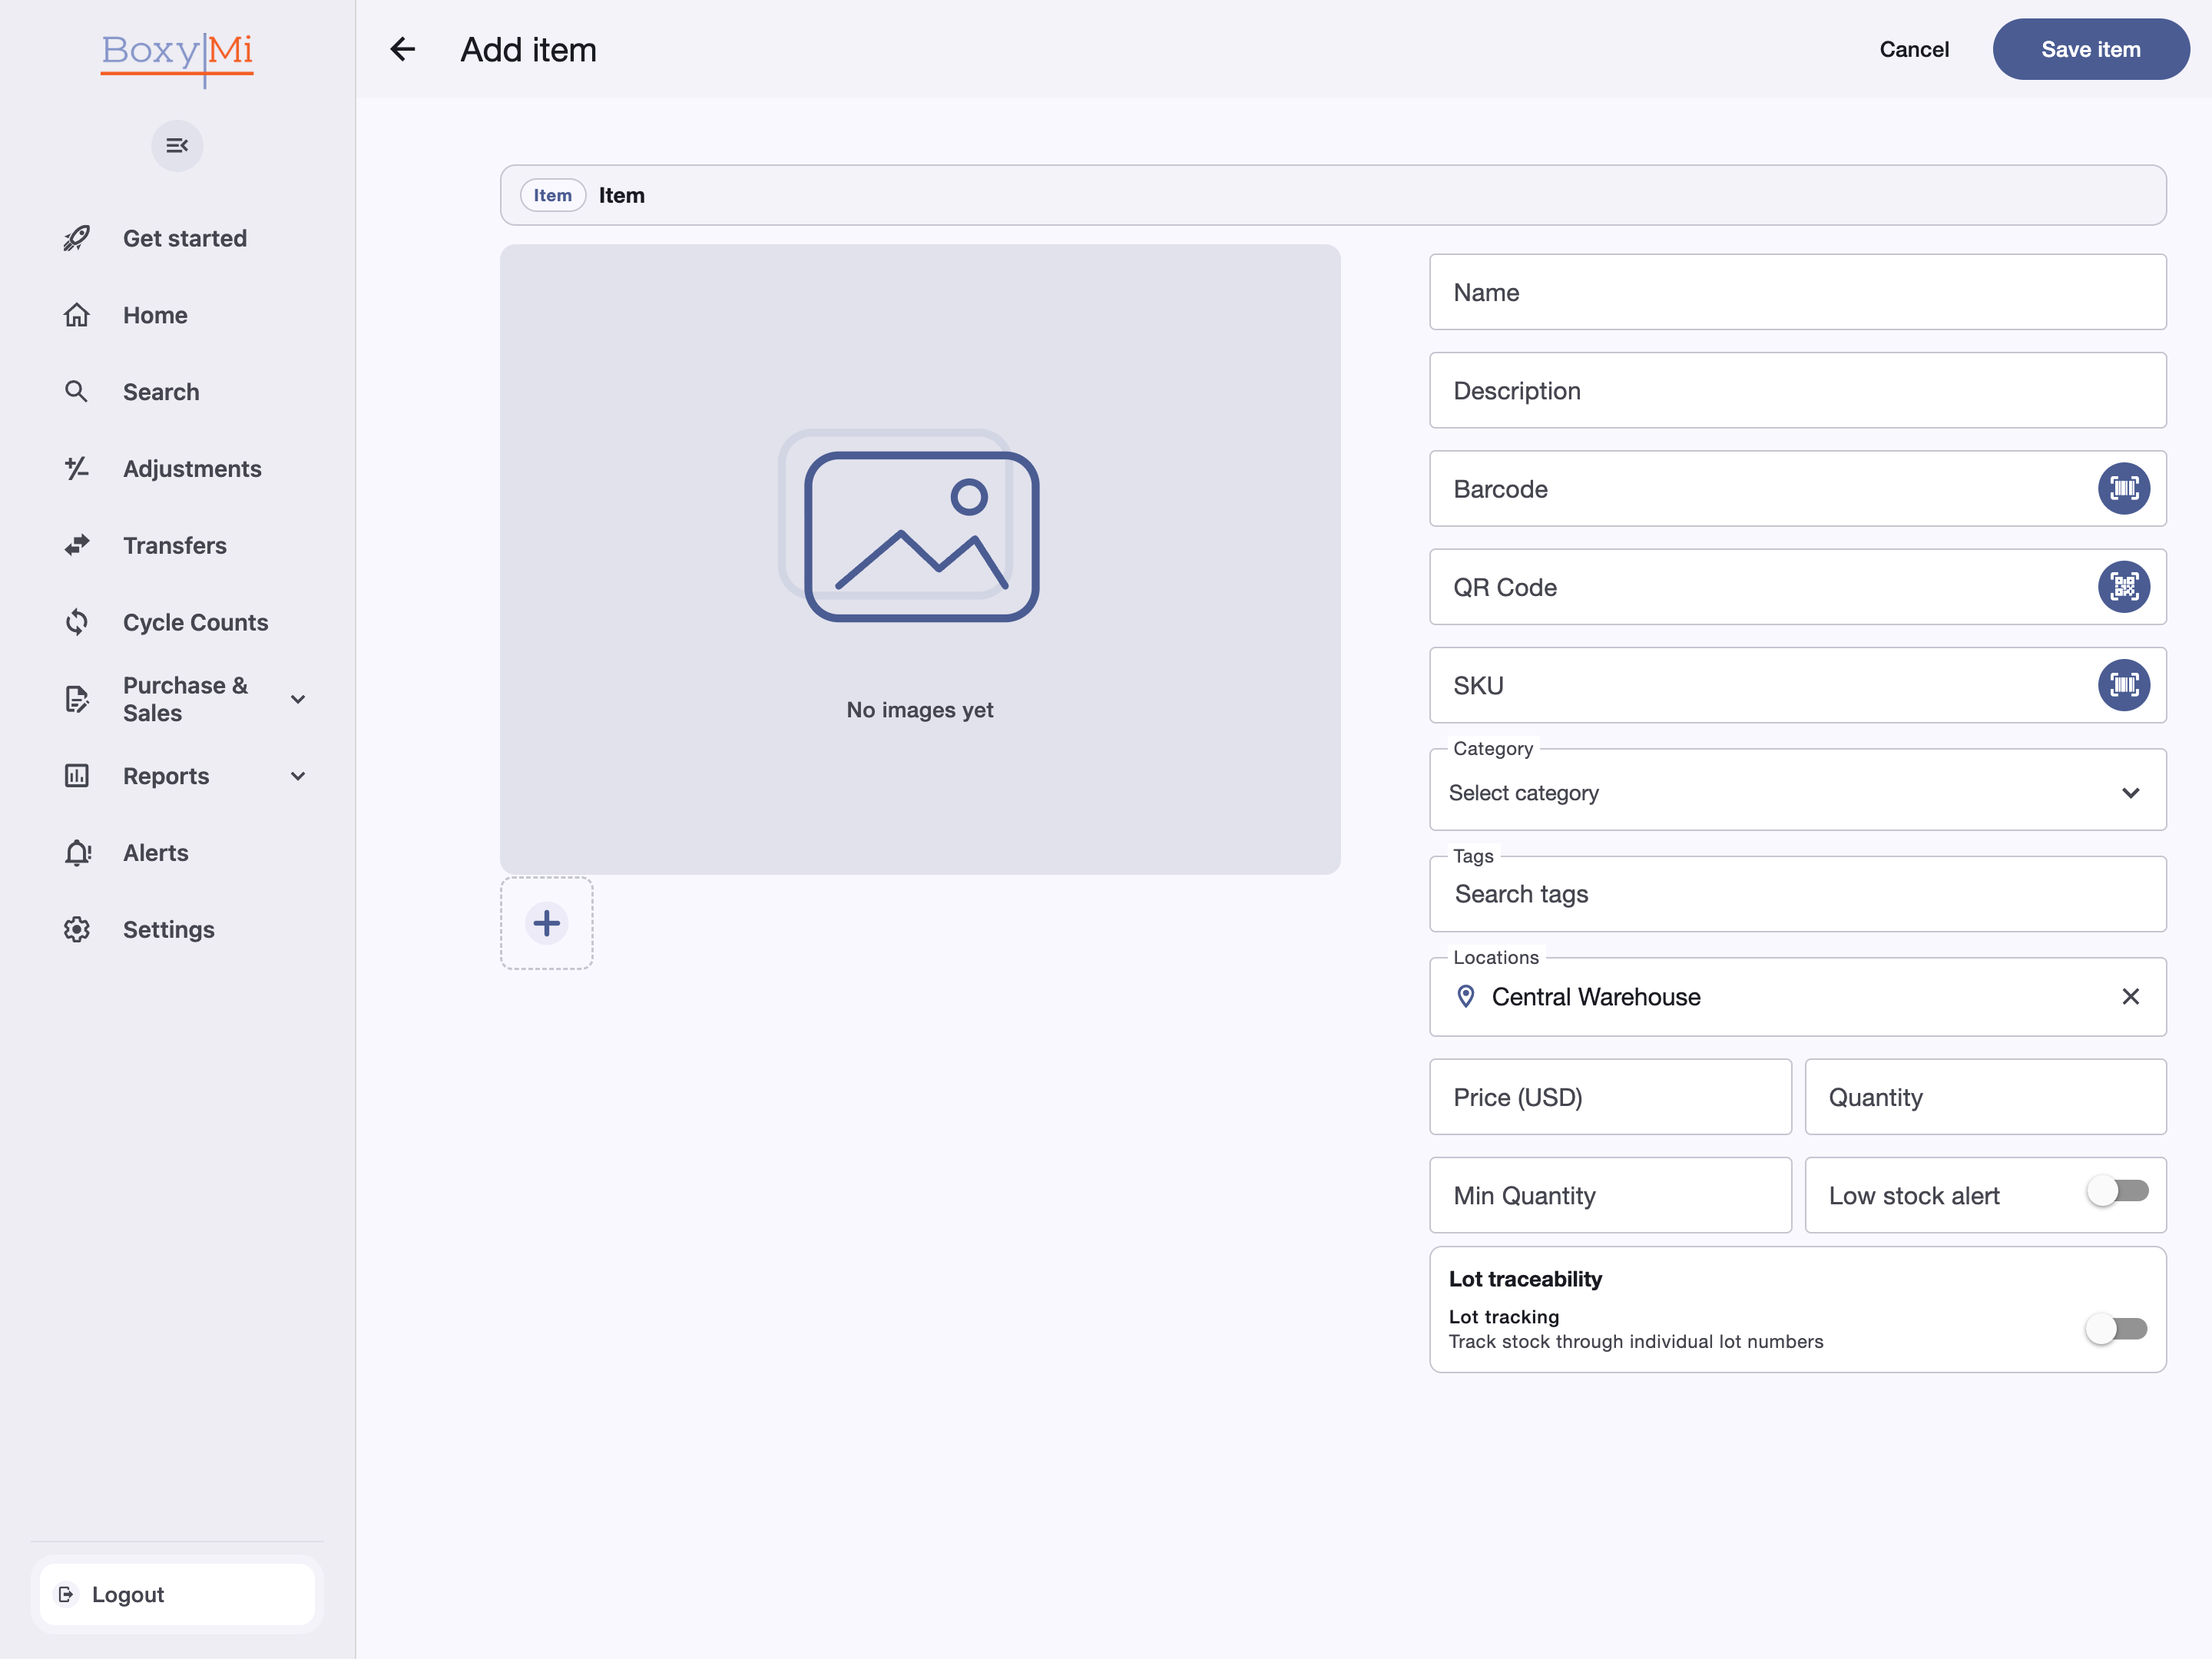
- Open Items and start a new item record.
- Enter the item details, then assign its location, starting quantity, and optional category.
- Review the information and save the item.
Many at once
Import a spreadsheet
Use a CSV or XLSX file when you already have several item records prepared.
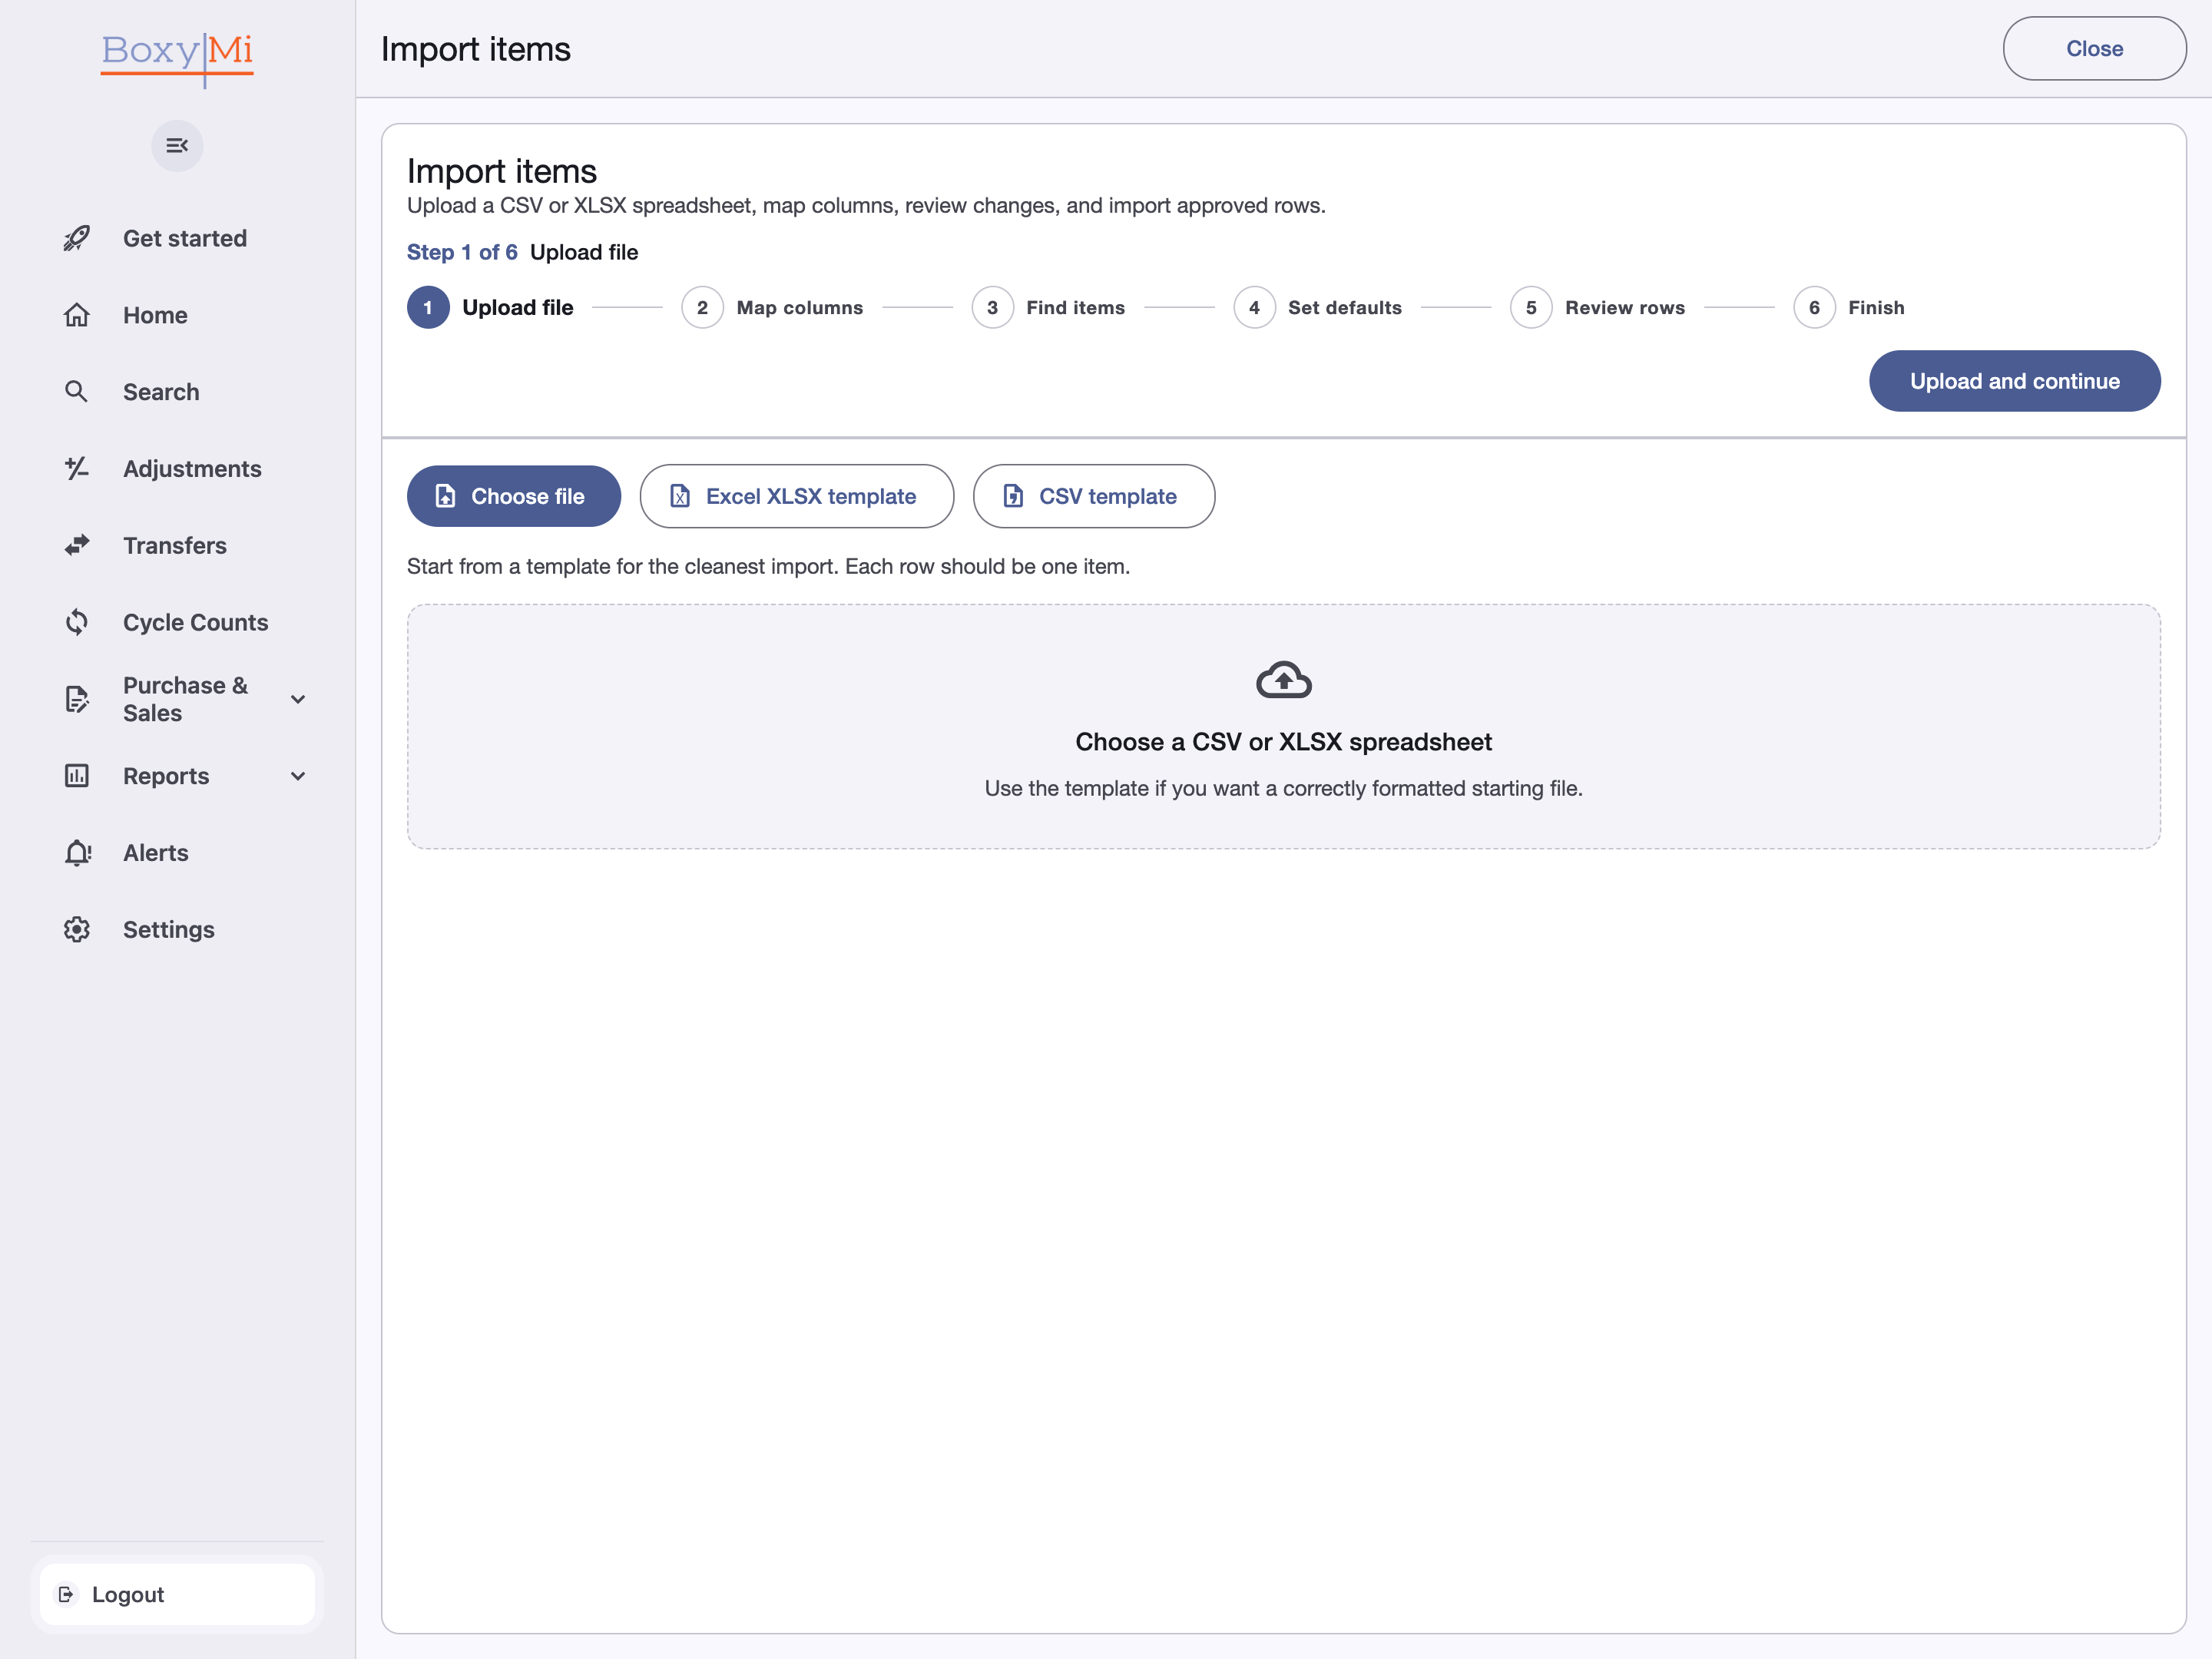
- Select Import items and choose a CSV or XLSX spreadsheet.
- Upload the file and confirm how its columns map to Boxymi item information.
- Review the results and approve the import.
Done when
At least one item is visible with a quantity assigned to a location.
Tip. For your first import, begin with the Excel or CSV template provided by Boxymi.
Optional
Invite your team
Give teammates access to the active workspace with the role appropriate for their work.
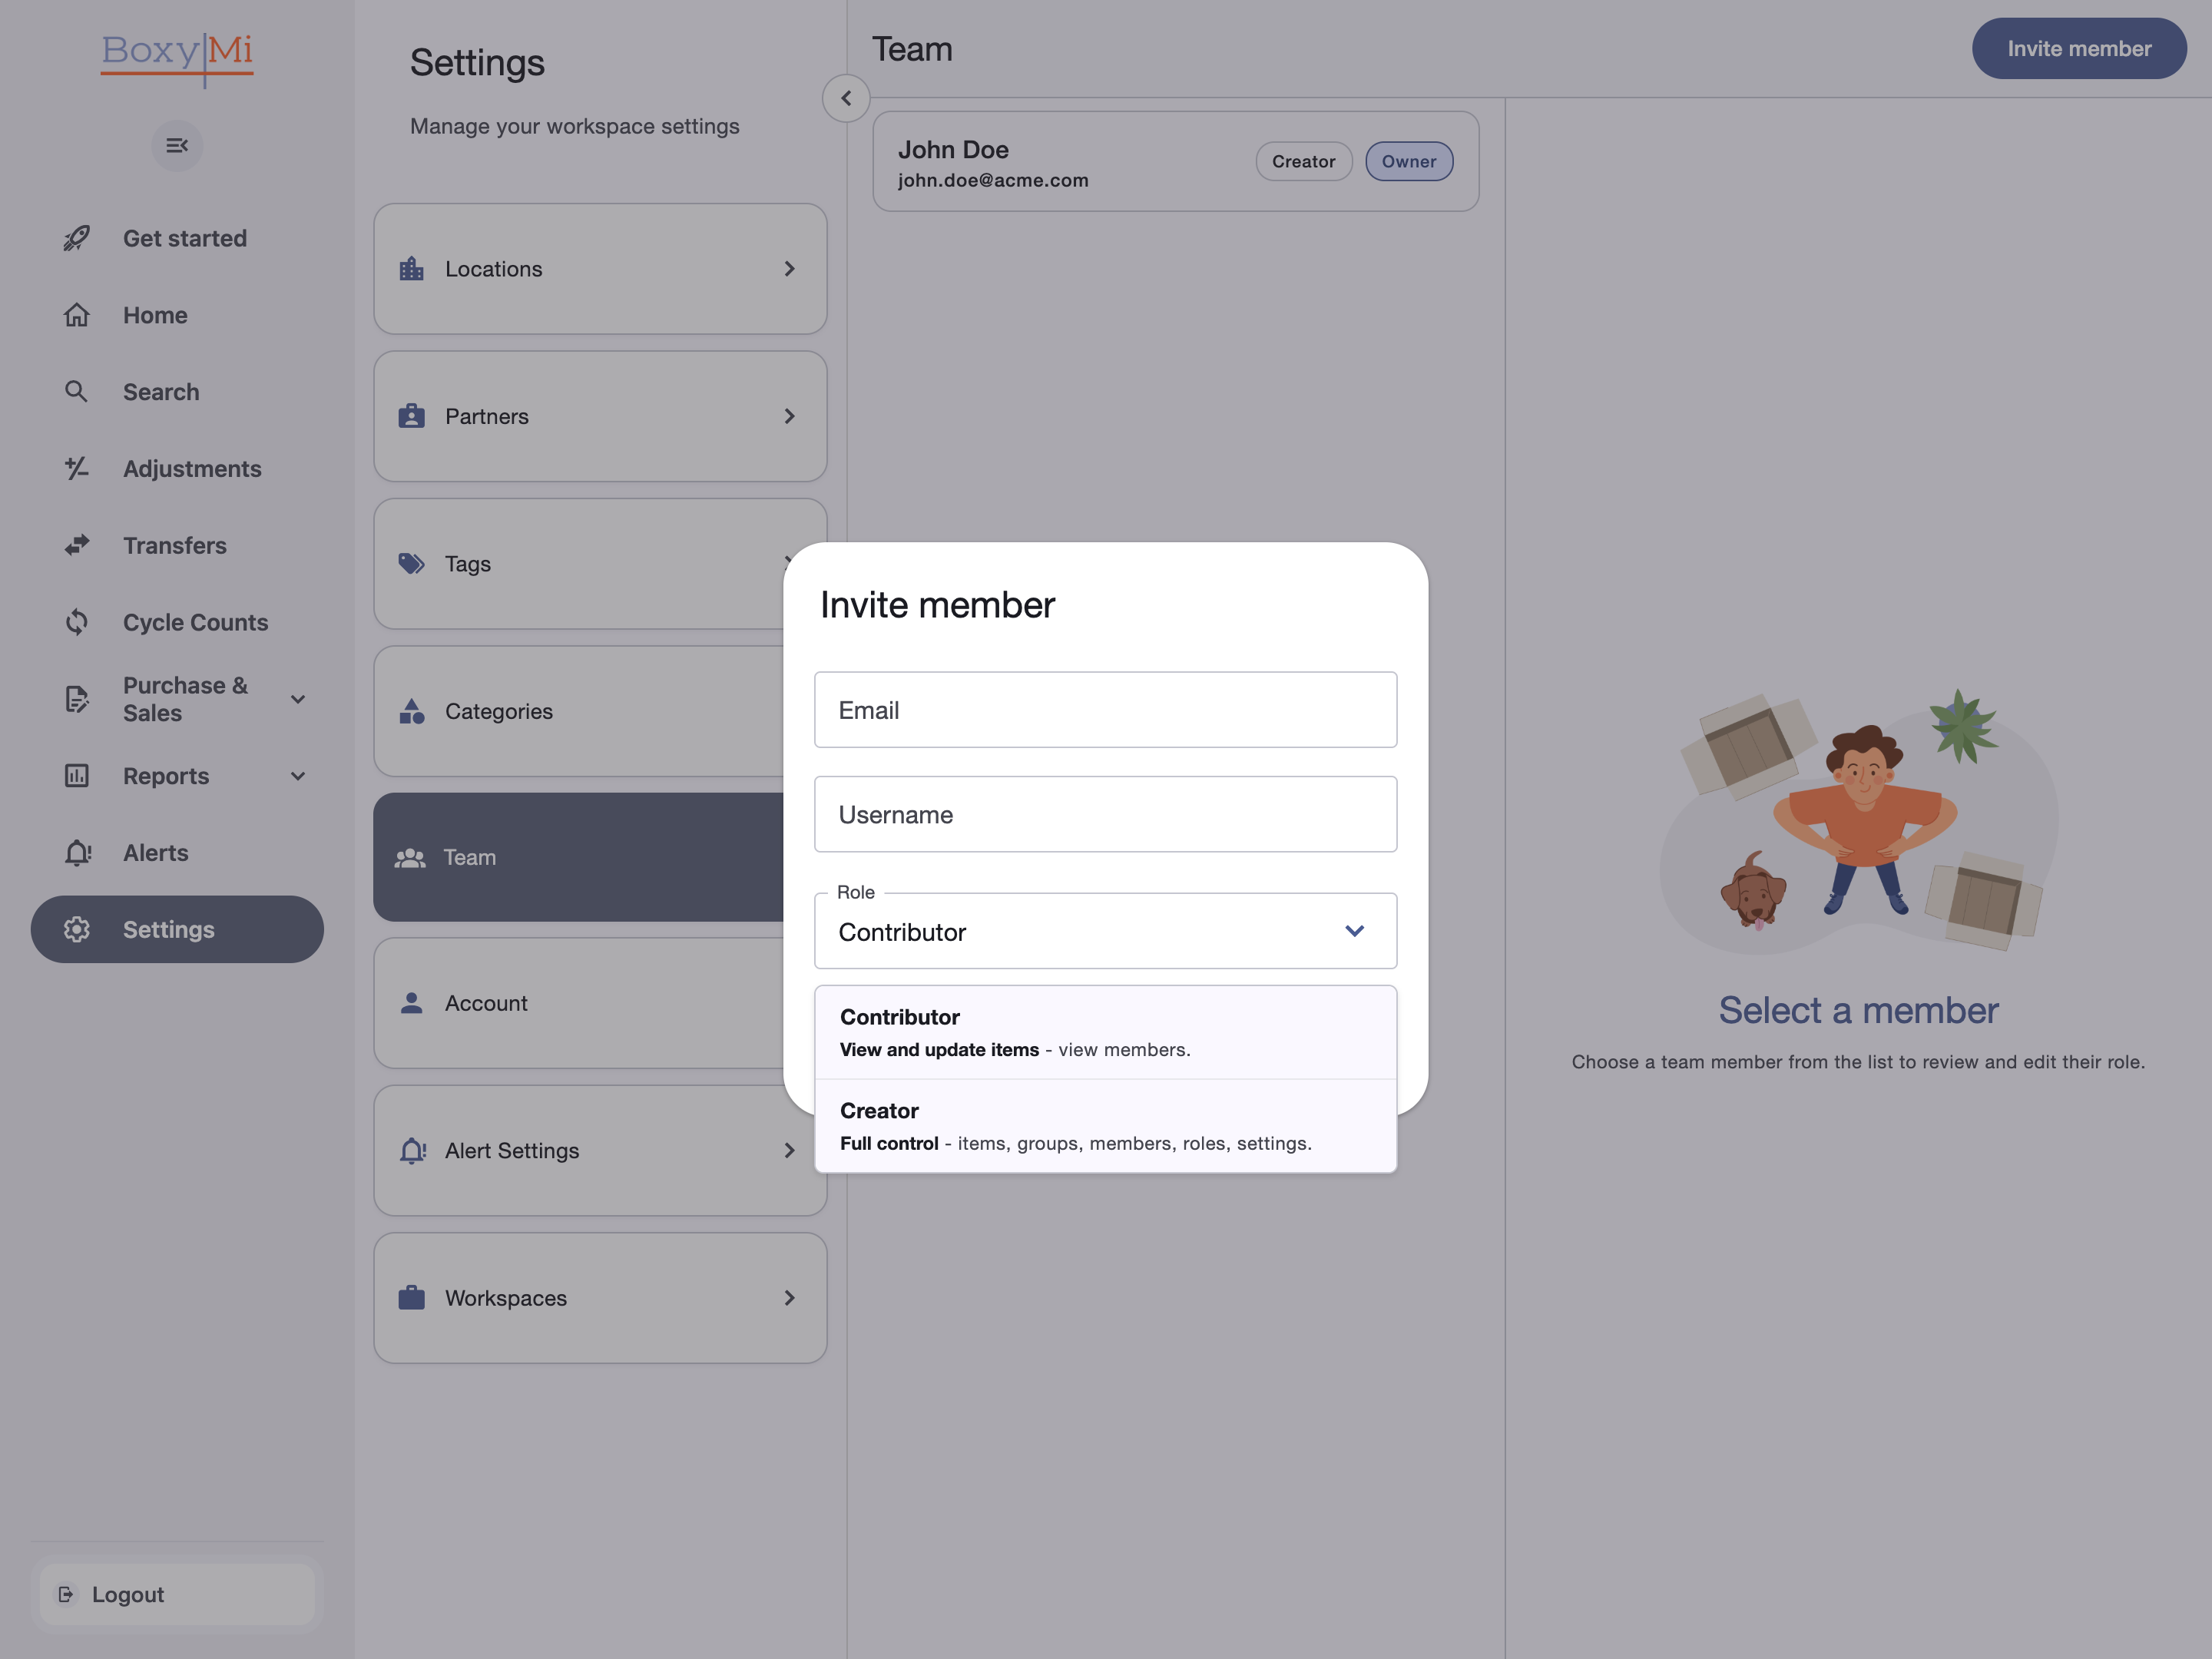
- Open Settings > Team and select Invite member.
- Enter the teammate's email address, add a username if needed, and choose a role.
- Save the invitation and ask the teammate to sign in with the invited email address.
Done when
The teammate appears in the workspace as invited or active.
Important. You can invite teammates only when your role and the active workspace plan allow it.
Setup complete
Your workspace is ready for everyday inventory work.
Continue with the Product Guide whenever you need more detail about records, workflows, or application differences.
Workspace administration
Manage your plan when needed
On the web, the owner of the active workspace can review plan capacity and manage an existing paid subscription.
Upgrade
Select Upgrade, compare the available plans and their limits, then choose a plan when the workspace needs additional capacity or features.
Manage billing
For an existing paid plan, select Manage billing to open the secure billing portal and update the subscription or payment details.
Note. Confirm the active workspace before changing its plan or billing details.